I’m not excellent at making the time to have a proper breakfast. And as much as ‘intermittent fasting’ might have some science to back up its benefits, I’m personally trying to get in a bit more protein earlier in the day these days.
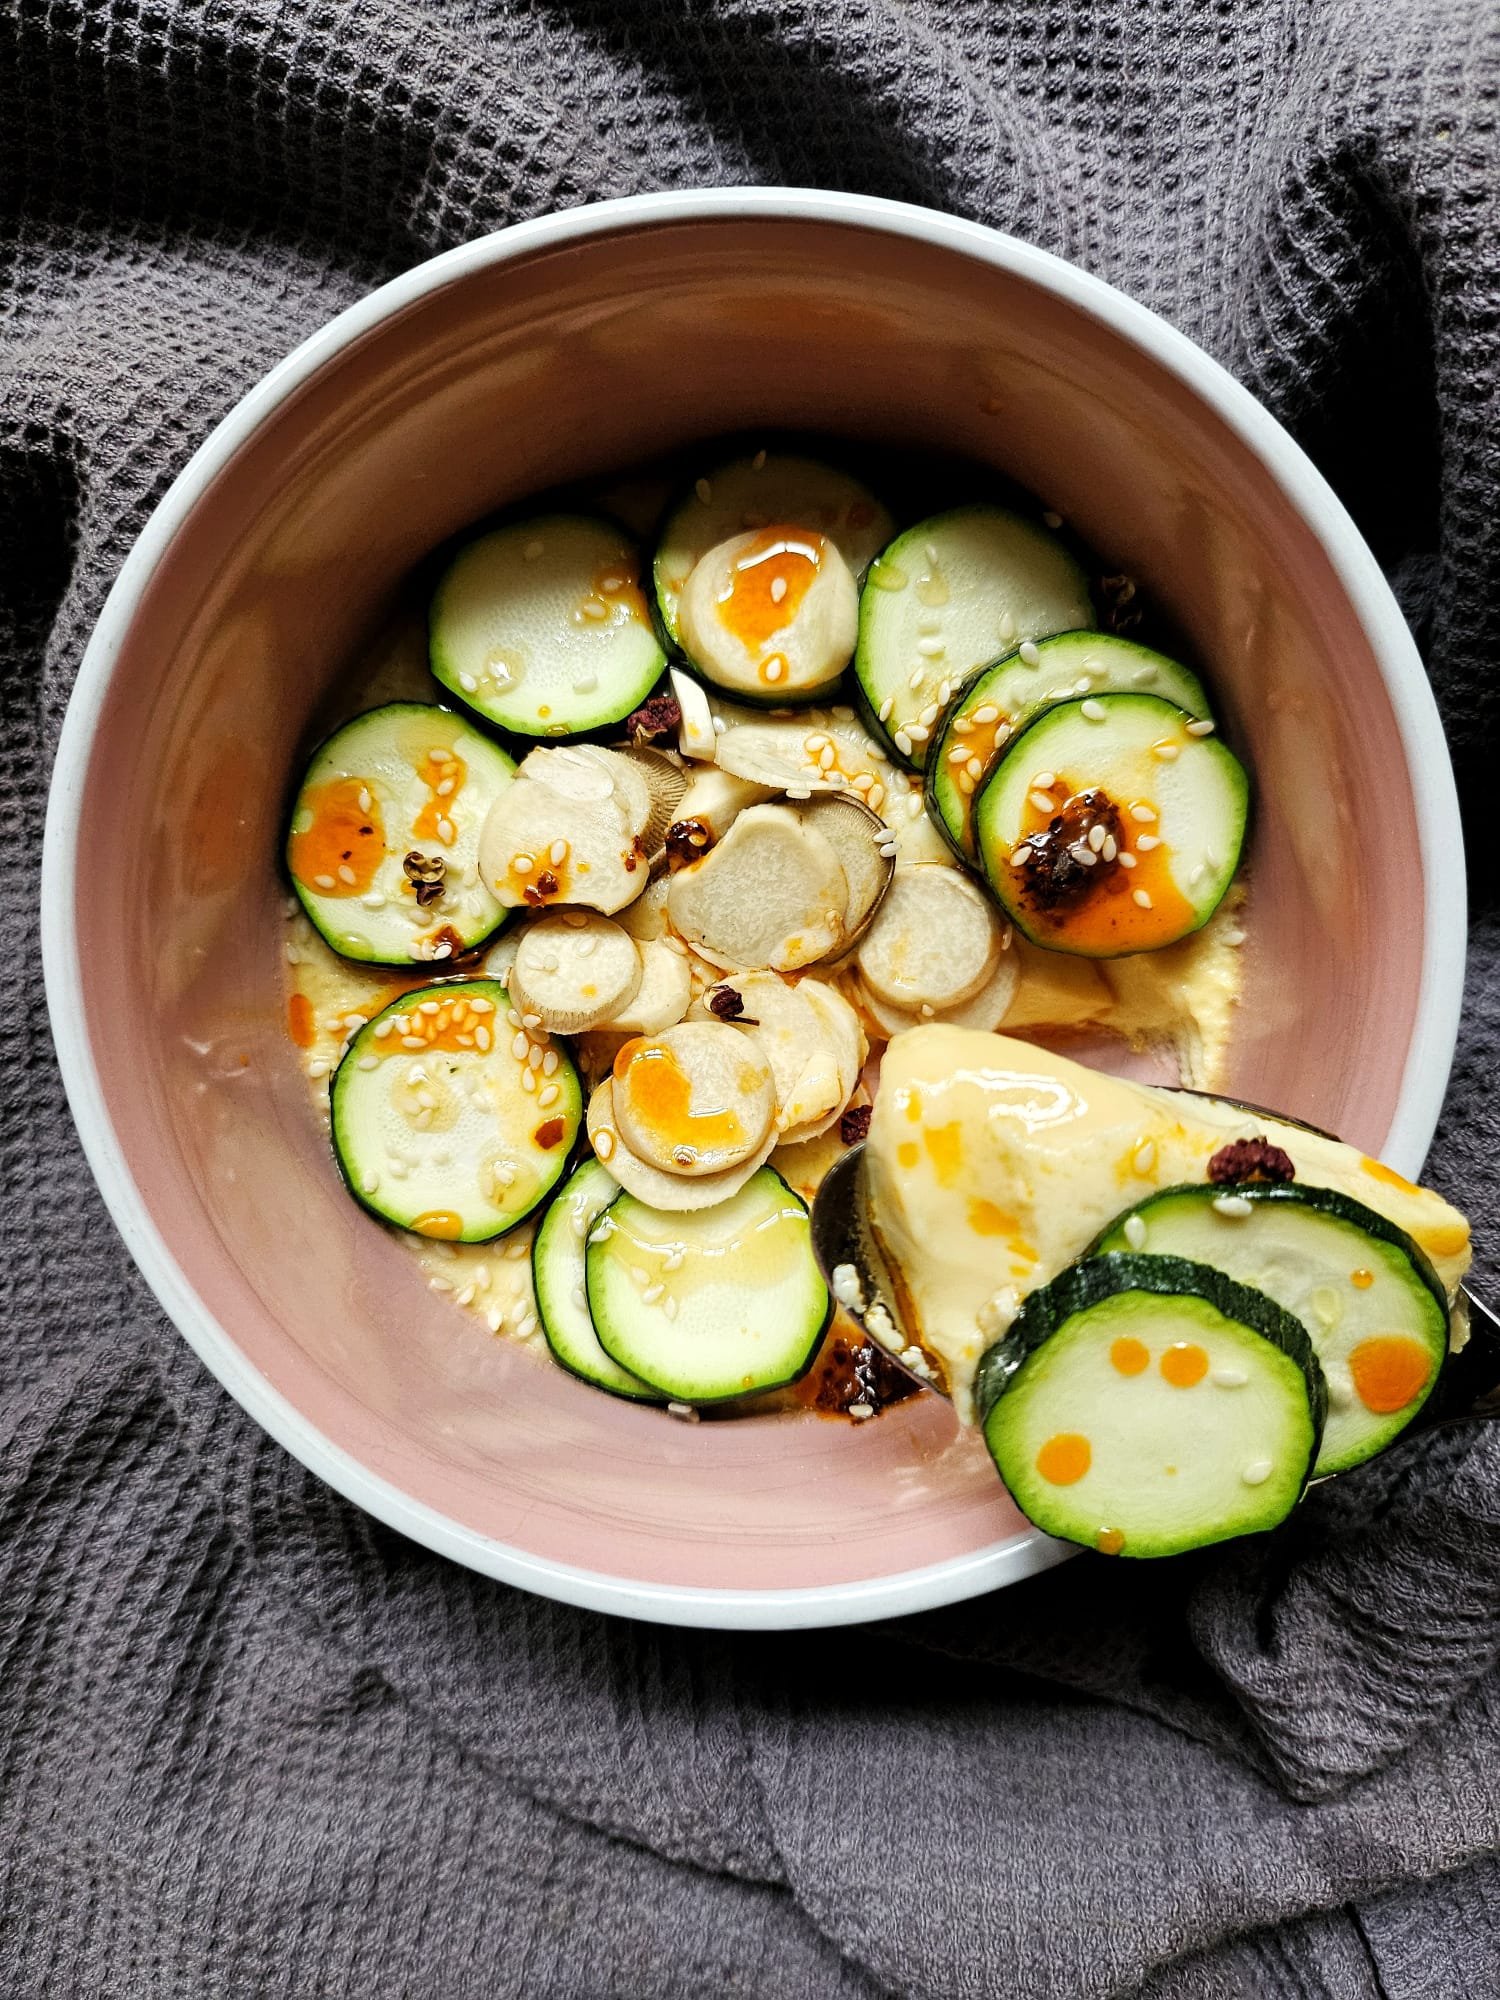
So here’s my soy steamed egg custard, topped with zucchini, mushrooms and Sichuan pepper-spiked chilli oil. You can customise it with pretty much any toppings you fancy, for a wiggly, jiggly good time!
If you’re anything like me, cooking the same thing day in and day out is a recipe for boredom, so here’s a handy egg dish that you can throw into the rotation. It’s easy to make and customise, as well as high protein and goddam delicious.
You could serve it alongside steamed rice, or eat it alone for a quick and simple something.
Ingredients - Serves 1
1 whole egg, plus 1 egg white
(save the other yolk in a jar and cure it in some soy and mirin in the fridge, thank me later)
1 tablespoon light soy
30ml water
Toppings
This is your time to shine. Or an opportunity to clear out your fridge. Anything from finely julienned ginger, to flakes of leftover fish, or any finely sliced veg works. I like mushrooms because they add another layer of savoury flavour to the end result.
1 baby king oyster mushroom, sliced into rounds
1/3 zucchini, sliced into rounds
Sichuan peppercorns
Your favourite chilli oil
Method
Whisk together the egg mixture and water until combined. Add the soy and whisk again. Pour into a shallow bowl that fits your steamer, or a pan with a lid. Cover the boil with foil or cling film, pop on the lid and steam for 10 minutes.
After 10 minutes, the custard should still be quite soft in the middle, but set around the edges. Top with your veg, cover again and steam for a further 5 minutes.
Once the custard is set, carefully remove from your steamer. Garnish your steamed eggs with chilli oil, a few drops of sesame oil, whatever you like - finely sliced ginger and shallots is also a great combo.